
How To Refinish Wicker Patio Furniture?
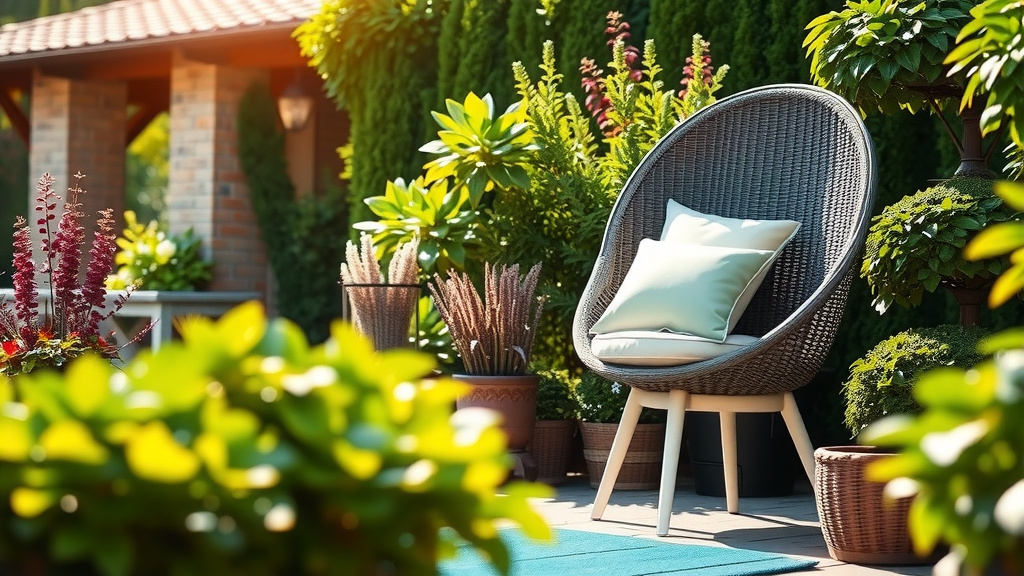
To refinish wicker patio furniture, first thoroughly clean it, then sand lightly, repair any damage, prime the surface, and apply several thin coats of a weather-resistant paint or stain. This careful process revitalizes your outdoor pieces, protecting them from the elements and extending their lifespan with a fresh look.
Refinishing your wicker furniture can transform weathered pieces into garden showstoppers. You will find that a bit of elbow grease and the right materials can bring your beloved patio set back to life. It also offers a chance to update its style without buying new furniture.
- Revitalize old or worn wicker patio furniture instead of replacing it.
- Learn practical steps from deep cleaning to final coating for a durable finish.
- Understand the necessary tools and materials to achieve professional results.
- Discover how to choose between paint and stain for your wicker’s unique look.
- Extend the life and beauty of your outdoor wicker with expert care tips.
How To Refinish Wicker Patio Furniture?
Refinishing wicker patio furniture involves a careful sequence of cleaning, repairing, sanding, priming, and painting or staining to restore its beauty and durability. You’ll give your furniture a second chance at life outdoors.
Why Refinish Your Wicker Furniture?
Imagine your favorite wicker chair looking tired and faded. Refinishing isn’t just about aesthetics; it’s about preservation. You are actually protecting the material from further weather damage. Experts often say that regular maintenance, including refinishing, can double the life of outdoor furniture.
Think of it like a fresh coat of paint on a house. It protects and beautifies. You get to enjoy your comfortable outdoor oasis for many more seasons. Plus, it’s a wonderfully satisfying DIY project.
Gathering Your Refinishing Toolkit
Before you dive in, gather all your supplies. Nothing stops progress faster than missing a crucial item. You want to have everything at hand, like a chef preparing ingredients for a recipe. We found that being organized saves significant time.
Essential Cleaning Supplies
- Mild dish soap or a dedicated outdoor furniture cleaner
- Soft scrub brush or an old toothbrush
- Several clean rags or sponges
- Garden hose or pressure washer (use very low setting)
- Buckets for water
Repair Materials You’ll Need
Wicker can suffer minor breaks or unraveling. You will need a few items to fix these. Strong, flexible epoxy or wood glue works wonders for breaks. Some people also keep spare wicker reeds for larger repairs, which can be found at craft stores.
Painting and Finishing Products
Your choice of finish is key for both looks and protection. We found that quality products make a huge difference in the outcome. Always check if they are suitable for outdoor use and weather resistance.
You will need fine-grit sandpaper (180-220 grit) for gentle smoothing. A good quality primer is crucial for adhesion and durability. Finally, select your paint or stain, along with brushes, rollers, or a spray gun.
Step-by-Step Refinishing Guide
Ready to get started? This process is broken down into manageable steps. Remember, patience is your best friend here. Rushing can lead to a less-than-perfect finish, and we want your wicker to look fantastic.
Step 1: Cleaning Your Wicker Thoroughly
This is arguably the most important step. Think of it like a blank canvas. Any dirt or grime will prevent your new finish from sticking properly. Research often connects poor adhesion to inadequate cleaning (Consumer Reports).
First, vacuum or brush off loose dirt. Then, mix mild soap with warm water. Use your soft brush to gently scrub the entire piece, paying attention to crevices. Rinse thoroughly with a garden hose, but avoid soaking the wicker too much. Let it dry completely, which might take 24-48 hours depending on humidity.
Step 2: Making Essential Repairs
Inspect your wicker for any loose strands, breaks, or unraveling sections. Address these now. Use your epoxy or wood glue to reattach loose pieces. Clamp them gently if possible until dry. Mending small breaks prevents them from worsening later.
For larger missing sections, you might need to weave in new wicker reeds. This requires a bit more skill, but many online tutorials can guide you. Focus on creating a stable, even surface for the next steps.
Step 3: Gentle Sanding and Prepping
Light sanding creates a “tooth” for the primer to grip onto. Use 180-220 grit sandpaper. You are not trying to remove the old finish entirely, just scuffing the surface. This also helps smooth out any rough spots or raised fibers.
After sanding, wipe down the furniture with a damp cloth to remove all dust. Let it dry completely. You want a clean, smooth surface for the primer.
Step 4: Priming for a Lasting Finish
Primer is essential for a durable, professional-looking job. It helps the topcoat adhere better, provides a uniform base, and can even block stains from bleeding through. Choose an outdoor-specific primer. We found that a good primer significantly extends the life of the finish.
Apply one thin, even coat of primer. Don’t overdo it; drips will show. Let it dry according to the manufacturer’s instructions, usually a few hours. Some experts even recommend a very light sanding after priming for an even smoother final coat (Sherwin-Williams).
Step 5: Applying Your New Paint or Stain
This is where your vision comes to life. Whether you chose paint or stain, apply it in thin, even coats. Multiple thin coats are always better than one thick coat, as it prevents drips and ensures better adhesion. Many guidelines point to using a spray gun for the smoothest finish on wicker.
If brushing, use a high-quality brush and work in small sections. Allow each coat to dry completely before applying the next. This could take several hours per coat. Patience is truly key here for the best results.
Step 6: Curing and Final Touches
Once your final coat is applied, resist the urge to use your furniture immediately. Paint needs time to “cure,” meaning it hardens completely. This can take several days, sometimes even a week, depending on the product and humidity. Ignoring curing times can lead to scratches and a less durable finish.
Keep the furniture in a protected, well-ventilated area during this time. Once fully cured, you can move it back to your patio. Your newly refinished wicker is ready to impress!
Common Pitfalls to Avoid
Even with careful steps, you might encounter small issues. Over-sanding can damage the wicker fibers. Skipping the cleaning or priming steps will compromise the finish. Applying thick coats of paint often leads to drips and unevenness.
Also, never refinish on a humid or rainy day. Moisture can get trapped, preventing proper drying and curing. Always aim for a dry, temperate day for your project.
Choosing the Right Finish
The choice between paint and stain depends on the look you want. Paint offers a solid color, completely changing the appearance. Stain allows the natural wicker texture to show through, offering a more rustic or natural vibe.
Consider the color palette of your patio. Do you want a bold statement or a subtle enhancement? Both offer protection, but their aesthetic impact differs significantly. We found that personal preference drives this decision the most.
Paint vs. Stain for Wicker
| Feature | Paint | Stain |
|---|---|---|
| Appearance | Solid, opaque color | Translucent, shows wicker texture |
| Coverage | Excellent, hides imperfections | Good, enhances natural look |
| Color Options | Limitless colors | Limited, natural wood tones |
| Application | Easier to achieve uniform look | Can be trickier to get even color |
| Maintenance | Can chip, may need touch-ups | Fades over time, less prone to chipping |
Maintaining Your Refinished Wicker
Your work isn’t done after refinishing; maintenance is ongoing. Regularly clean your wicker with mild soap and water. Keep it covered during harsh weather. Winter storage indoors or under a waterproof cover is highly recommended. These simple steps keep your refinished furniture looking new for longer.
Quickly address any chips or scratches with touch-up paint. This prevents moisture from getting into the wicker. A little care goes a long way in preserving your beautiful work.
Refinished Wicker Care Checklist
- Wipe down regularly with a damp cloth.
- Clean spills immediately to prevent staining.
- Use furniture covers during bad weather.
- Store indoors or in a sheltered area during winter.
- Inspect for damage yearly and touch up as needed.
Conclusion
Refinishing wicker patio furniture is a rewarding project that breathes new life into your outdoor space. By following these steps from thorough cleaning to careful application, you can achieve a durable and beautiful finish. You’re not just restoring furniture; you’re preserving memories and creating a welcoming atmosphere. Enjoy your refreshed patio set!
What kind of paint is best for wicker patio furniture?
For wicker patio furniture, acrylic latex paint specifically formulated for outdoor use is often recommended. Look for paints that offer good adhesion, flexibility, and weather resistance to stand up to the elements.
Can you spray paint wicker furniture?
Yes, spray painting is an excellent method for wicker furniture because it allows for a more even coat and can reach into the intricate weave more easily than a brush. Always use several light coats instead of one heavy coat for the best results.
How long does it take to refinish wicker furniture?
The total time to refinish wicker furniture can vary greatly depending on the piece’s size and condition, as well as drying times between coats. You should generally plan for 2-4 days, accounting for cleaning, repairs, multiple coats, and full curing time.
Do I need to sand wicker before painting?
Yes, a light sanding is recommended. You don’t need to remove all the old finish, but scuffing the surface with fine-grit sandpaper (180-220 grit) helps the new primer and paint adhere much better, creating a more durable finish.
Is it worth it to refinish old wicker furniture?
Generally, yes, it is worth refinishing old wicker furniture, especially if it’s a quality piece with sentimental value. Refinishing is often more cost-effective than buying new, extends the furniture’s lifespan, and allows you to customize its look.
